
How to Start Scrapbooking as a Beginner: A Simple Step-by-Step Guide
Most people already own the beginnings of a scrapbook. They are sitting in a drawer, between the pages of a book or near the bottom of a bag: a photograph you still like, a card you kept, a ticket with a worn corner, a receipt from somewhere you would like to remember. Scrapbooking gives those…
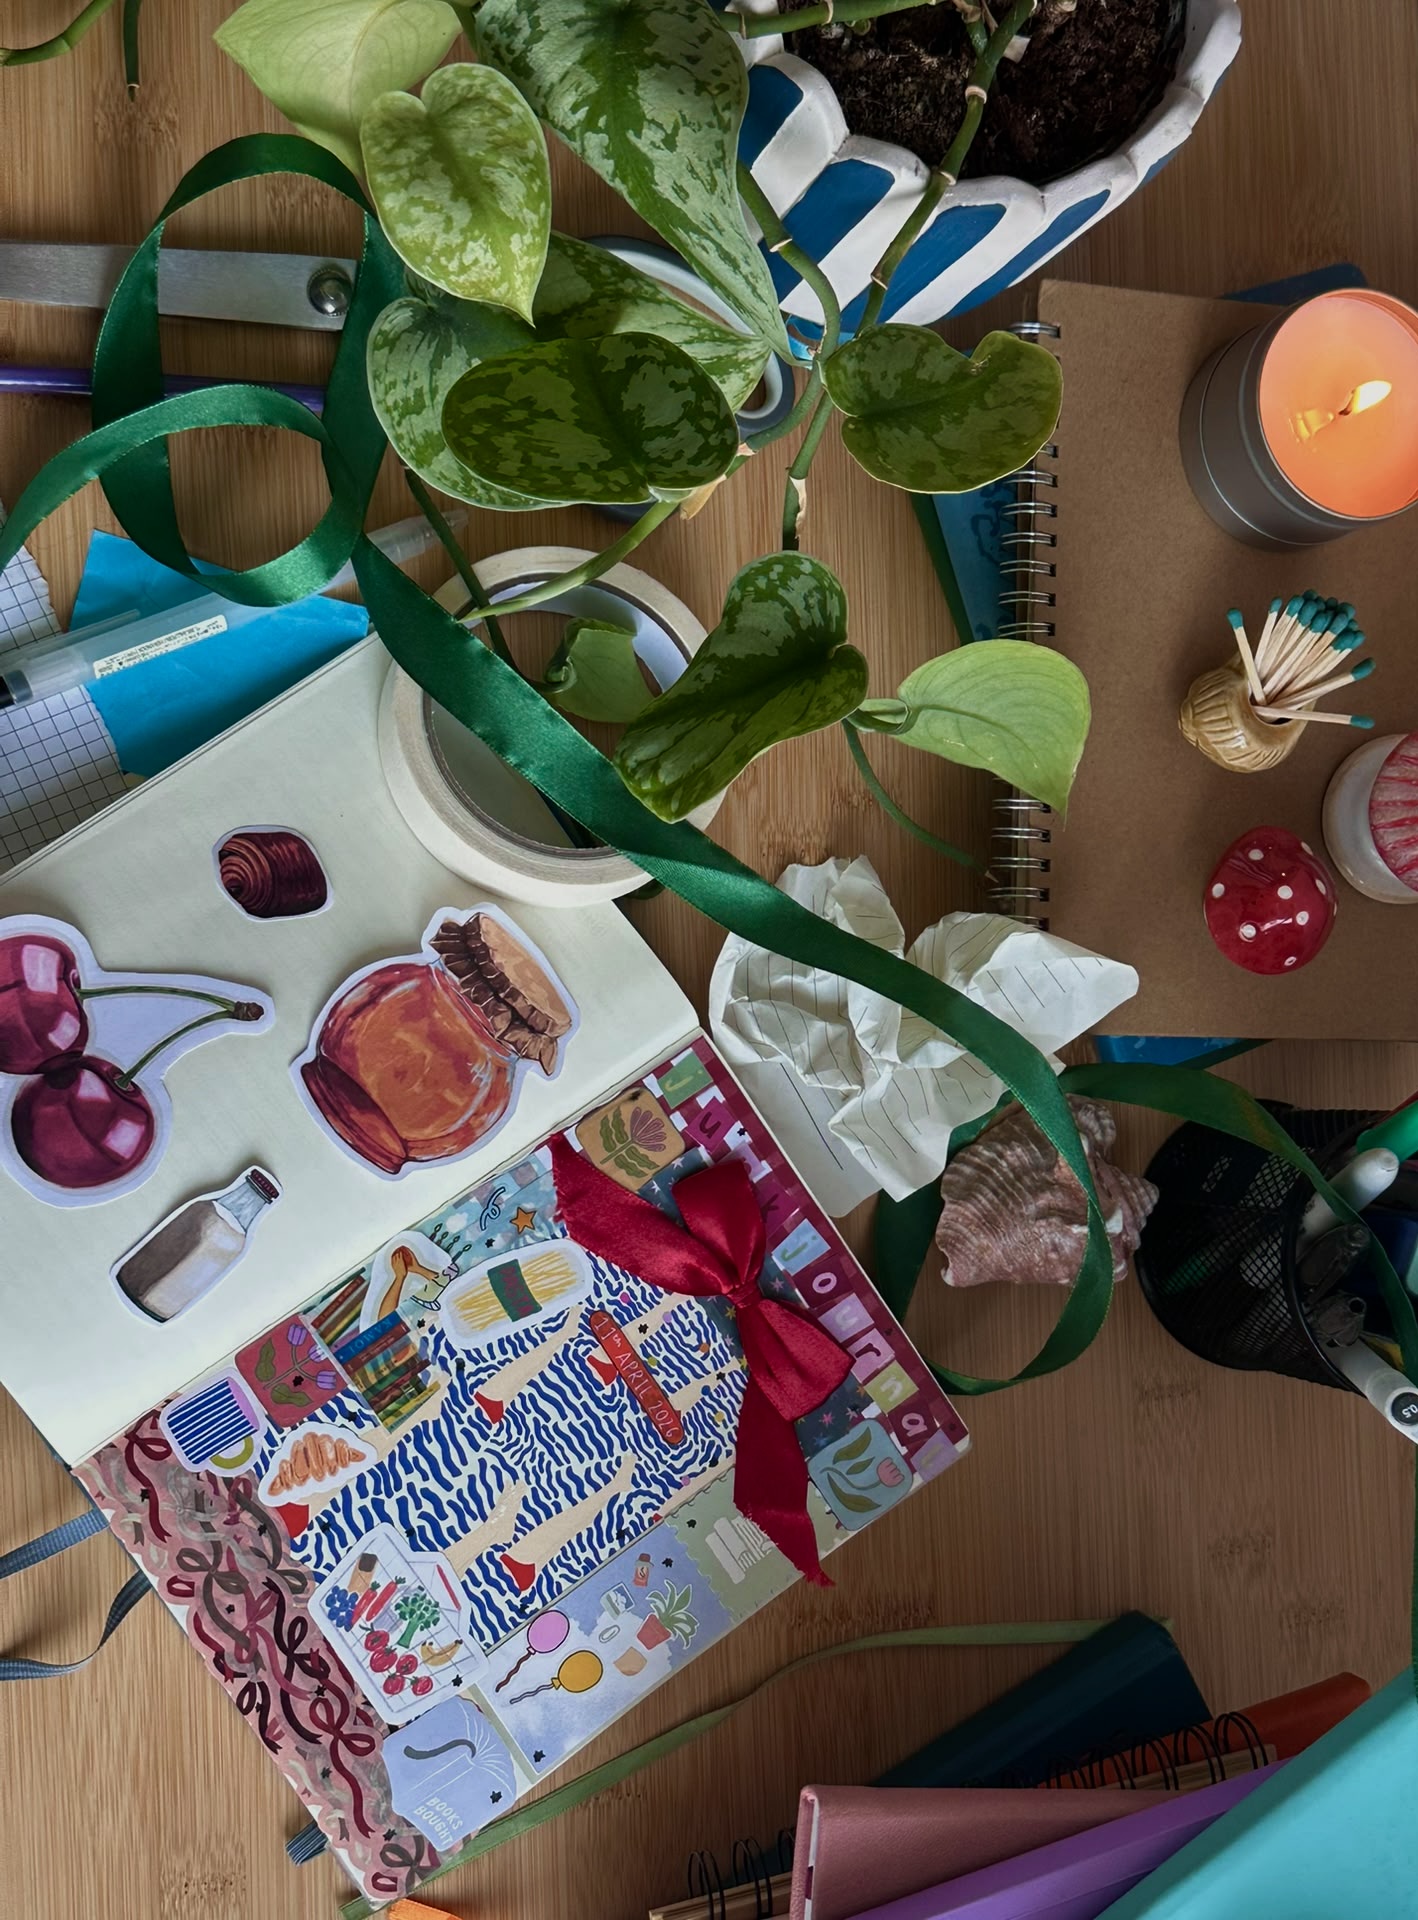
Most people already own the beginnings of a scrapbook.
They are sitting in a drawer, between the pages of a book or near the bottom of a bag: a photograph you still like, a card you kept, a ticket with a worn corner, a receipt from somewhere you would like to remember.
Scrapbooking gives those pieces a place. You arrange photographs and paper keepsakes on a page, then add enough writing or decoration to preserve the part of the memory that matters to you.
For a first page, you need very little: a book or album, one or two photographs, scissors, a pen and an adhesive suitable for paper. Arrange everything before you stick it down, add the date and write one detail you would otherwise forget.
A first scrapbook page can be this simple: one moment, one main photograph, one paper keepsake and one short note.
Choose one memory, not an entire era
A first scrapbook does not need to begin with your childhood, every year of a relationship or a complete record of a long holiday.
Choose one contained moment instead.
That might be:
- a recent weekend
- one birthday
- a concert
- an afternoon with a friend
- the first few days in a new home
- a favourite meal
- a walk you want to remember
- one ordinary photograph from the past month
A smaller subject makes every later decision easier. You know which photograph to print, which paper pieces belong and what the page needs to say.
Try to describe the memory in one sentence:
The rainy afternoon when we found that tiny café.
That sentence is enough to begin. You are making one page about that afternoon, rather than trying to design an entire album before anything has been stuck down.
Choose a scrapbook that suits the way you want to make
You can scrapbook in a traditional album, a ring-bound book, a sketchbook or a blank notebook. The right choice depends on the kind of pages you imagine making.
A blank notebook or sketchbook
This works well for compact pages, a mixture of writing and photographs, or a scrapbook you would like to carry around.
An A5 notebook usually has room for one main photograph and a few smaller pieces. A larger sketchbook gives you more freedom to layer materials.
Check that the pages feel sturdy enough for the photographs and paper you plan to add. Very thin pages may feel less comfortable once glue and several layers are involved.
A ring-bound album or binder
A ring-bound format is useful if you want to add, remove or rearrange pages.
It also takes some pressure away from the first page. You can make pages in any order and decide where they belong later.
A traditional scrapbook album
A larger scrapbook album gives photographs, writing and decoration more room. It suits people who enjoy building individual layouts or recording events across several pages.
You do not have to begin with the largest standard album simply because it is common in scrapbooking. A wide blank page can feel freeing to one person and intimidating to another.
A pocket album
A pocket album is a simple option if you mainly want to organise photographs with short notes and small pieces of paper.
It offers less freedom over the layout, but it can make starting quicker.
If you already own a notebook you like, try one page in it before buying anything else. Making that page will tell you more about your preferences than comparing another twenty album sizes.
Gather a first-page kit, not a craft cupboard
For your first page, gather:
- your scrapbook, album or notebook
- one or two printed photographs
- scissors
- a glue stick, double-sided tape or another adhesive suited to paper
- a pen
- one paper keepsake, if you have one
The paper keepsake might be a receipt, ticket, postcard, label, note, map, card or strip cut from a leaflet.
That is enough to make a complete page.
Patterned paper, stickers, washi tape, stamps, coloured pens and paper-cutting tools can be useful later. They are optional at the beginning. Buying them before you have made anything can leave you with plenty of choice and no clearer idea of what you enjoy.
One piece of coloured paper is often more useful than a full coordinated collection. It can sit behind a photograph, separate two similar colours or create a small space for writing.
If a photograph, letter or paper item cannot be replaced, work from a copy rather than cutting or gluing the original. You can keep the original safely elsewhere and use the duplicate without hesitation.
Give the page a one-sentence brief
Before arranging anything, write one sentence on a spare piece of paper:
This page remembers…
Finish it plainly.
For example:
- This page remembers our first weekend in the flat.
- This page remembers the train home after the concert.
- This page remembers the afternoon we stayed for another coffee.
- This page remembers the day the garden finally began to change.
Use the sentence as a filter.
If a photograph or paper item helps tell that small story, place it beside the page. If it belongs to a different memory, save it for later.
This prevents the first layout from becoming a competition between every photograph and keepsake you have collected.
Arrange everything before you stick it down
Begin with the largest or most important photograph.
Place it on the page and look at the space around it. It can sit in the centre, but moving it slightly to one side may leave a natural area for a date or short note.
Then build around it:
- Place a piece of plain or patterned paper behind the photograph if it needs separation from the page.
- Add the second-largest item, such as another photograph, a card or a receipt.
- Tuck smaller pieces partly beneath the larger ones rather than spacing everything evenly.
- Leave a clear area for writing.
- Remove anything that makes the page harder to read.
- Take a quick photograph of the arrangement before you move it.
That phone photograph gives you a reference while you glue the pieces down.
You do not need to cover the entire page. Unused paper helps the eye find the photograph and gives handwriting somewhere to sit.
If the layout still feels uncertain, temporarily remove every decorative piece. Look at the photograph, the keepsake and the writing space on their own. Add one item back only where the page genuinely needs it.
Stick the page down in a forgiving order
Once you are happy with the arrangement, attach the larger background pieces first.
A simple order is:
- background or coloured paper
- main photograph
- second photograph or paper keepsake
- written label
- small decorative details
Work slowly enough to check each position, but do not keep rebuilding the same layout in search of a flawless version.
If you are using a wet adhesive for the first time, test it on an offcut of similar paper. This lets you see how much you need and whether the paper wrinkles as it dries.
Some paper items have useful information on both sides. Instead of gluing one flat, place it in a small paper pocket or attach only one edge so it can still be lifted and read.
Write the detail the photograph missed
A photograph can show where you were. It rarely records why you were there, what happened five minutes earlier or the sentence that made everyone laugh.
Add a little context while you can still remember it.
You might write:
- the date
- the place
- who was there
- what happened just before or afterwards
- something somebody said
- a small sensory detail
- why you kept the photograph or object
You do not need to write a polished paragraph.
A date and two honest sentences may be enough:
We only went in because it started raining. We stayed through two coffees and missed the exhibition we had planned to see.
That tells you something the receipt and photograph cannot.
If writing directly onto the page feels risky, draft the words on scrap paper first. You can then copy them into the available space or write them on a separate strip of paper and attach that to the layout.
Your handwriting becomes another part of the page. It records the person who made the scrapbook as well as the event being remembered.
A first scrapbook page: Saturday afternoon in London
Imagine you want to record one ordinary Saturday.
You have:
- one photograph taken outside a small gallery
- a café receipt
- a narrow strip from the exhibition leaflet
- one piece of rust-coloured paper
- a black pen
Begin by cutting the coloured paper slightly larger than the photograph. Place it behind the image so that a narrow border remains visible.
Set the photograph a little left of centre. Tuck the exhibition leaflet beneath its right edge, leaving the title or an interesting piece of print visible.
Place the receipt lower on the page. It does not need to sit perfectly straight. The page should still feel easy to read, but the slight change of angle can distinguish it from the photograph.
Write the date near the top. Use the remaining space for two sentences:
We went inside to escape the rain and stayed much longer than planned. Coffee afterwards, then the long way back to the station.
You could add one small sticker or a narrow strip of paper near the receipt. You could also leave the page as it is.
The photograph establishes the place. The leaflet and receipt give the day physical detail. The writing explains why it stayed with you.
Nothing else is required for the page to feel finished.
Know when the page is finished
Pause before adding another sticker, piece of tape or title.
Ask:
- Can I tell what this page is about?
- Have I included the date or enough context to place the memory?
- Is anything covering an important part of the photograph or writing?
- Does every decorative piece help the page, or is one simply filling a gap?
- Would removing something make the main photograph easier to notice?
A finished page does not need to use every item you prepared.
Return the unused pieces to an envelope or small box. They may suit a later page better, and stopping now keeps this memory clear.
Let the first page teach you what to do next
Once the first page exists, you will know more about the kind of scrapbook you want to make.
You may discover that you prefer:
- one large photograph rather than several small ones
- plenty of writing
- clean pages with little decoration
- layers of paper and printed material
- pages arranged chronologically
- separate pages for unrelated moments
You do not need to choose a permanent style. The next page can look different.
Keep a small envelope for receipts, cards and other flat pieces you might use. Add the date or a short note before you forget where each item came from. Print photographs for the next page or two rather than trying to prepare an entire album at once.
Your first page will teach you more than another hour spent browsing supplies. It shows you how much space you like, how much you naturally write and which materials you actually reach for.
Keep those answers. Let the next page be a little easier.
Make alongside Creo Club
Creo Club is creating Sip and Scrap gatherings for people who enjoy photographs, paper and making alongside others.
Join the Creo Club mailing list to hear about future Sip and Scrap dates and receive more beginner-friendly scrapbooking ideas.
MAKE SOMETHING YOURSELF
Fancy putting some of that inspiration on the page?
Come along to a Creo Club scrapbooking event, or join the list to hear when the next dates are announced.